
Using Explore
Viewing your project through Explore will allow you to manage and curate your items in various ways.
From Explore, you can carry out a number of bulk actions on your items, such as moving items to different folders or subsets. You can also examine your items on the go with Zoom View.
Customize your view
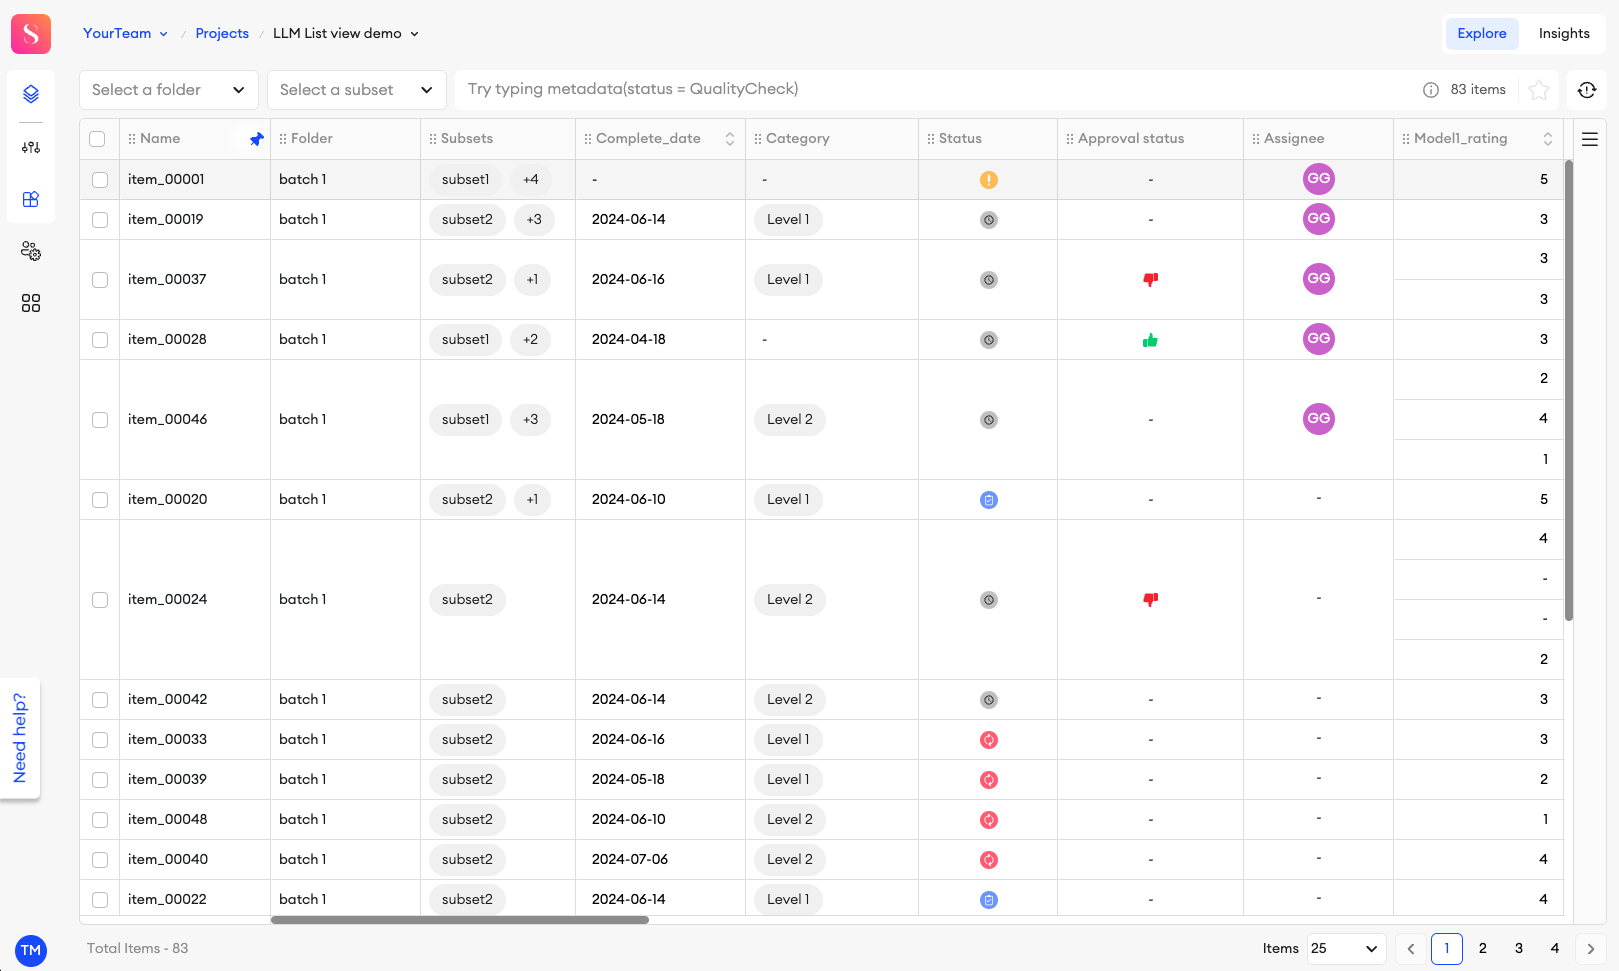
In Explore, you can see all the items in your project, listed in a table that can be customized and reorganized to your liking.
Step 1: Select the parameters

Through the Columns ☰ menu in the top right corner, you can select or deselect columns to customize your table's parameters as necessary. There are a list of item parameters that cover the base metadata of your items, and below them are all the components available in your project, listed by ID.
Item parameters: Name, Folder, Subset, Category, Status, Approval status, Assignee, and Priority score.
Component parameters:
- Input - Markdown, Text area, Number, Code, Paragraph, and Text Input.
- Select - Select, Slider, Checkbox, Radio, Voting, Rating, and Date.
Step 2: Rearrange your columns

You can choose to arrange your columns in any order, simply by clicking and dragging their corresponding reorder ⋮⋮ button. Additionally, you can resize the width of your columns in case you want to see the values in an expanded field. You can do so by clicking and dragging a column by the border of its heading.
Step 3: Pin columns

Let’s say there is a column you want to keep an eye on, or you want to always have it visible when you scroll through the list. You can pin the column to fix it into a static position on the left-hand side of the list.
To pin a column, simply click the pin button in the header. You can click it again to unpin it later. You can rearrange your pinned columns, but if you drag a pinned column into the list of unpinned columns, it’ll no longer be pinned.
- When you unpin a column later, it won’t return to its original position. Keep that in mind when pinning any column.
- There is no limit to the number of pinned columns.
Sort your list
There are two ways you can sort your list of items when looking at your project through in Explore.
Sort by UI
You can click on the up or down arrows on a column header to sort by ascending or descending order.
Sort by query
You can also sort your items by using queries, which you can read more about here.
Resync
Whenever an item is being worked on in the editor, that data is automatically updated in Explore. Resynchronization, or Resync, is a way for you to give your dataset a manual update.
Sometimes, there might be a synchronization issue between the changes made within editors, and the visible dataset. A simple refresh of the page could help, but there are a few cases in which you’ll have to resync your dataset:
- When new features are released, you can resync your dataset to apply any necessary changes for those new features to be implemented and usable. You’ll be notified if a resync is required in this case.
- If you’ve deleted a category through the project’s settings, and that category has been used to categorize items in a project, those items will become uncategorized. Resyncing your dataset will make sure these items appear correctly in Explore.
Zoom View
When viewing projects in the Explore tab, you can click on any item to look at it in Zoom View. It is a simple window that gives you a quick and easy way to examine annotations thoroughly, approve or disapprove items, or leave comments on them to provide feedback. You may also hover over each component to see its component type and ID, which can be easily copied if needed.
If you still want to examine the item further, you can click Open in editor so that you can see the item in full view. You can also access an item in the editor by Control / Command + clicking it from the Explore tab.
In the right panel, you can see when the item was created, when the item’s JSON was last updated, and more in the Item info and History tabs.
Item info
In this tab, Project Admins can assign or change the item’s assigned contributors. You can add categories to items, and add items into Subsets.
History
All of the item’s status and assignment changes are shown in the History tab.
Each change shows an icon and timestamp (UTC), followed by details about what changed.
Status changes show the status name, the user who made the change, and where the change was made from. This information is available in organizations where Telemetry is enabled.
Assignment changes show the role name, the user assigned to the item, and the user who made the change. If a user was removed, you’ll see Unassigned instead.
Important to know
- Only status changes within the last 6 months are displayed.
- Users are shown as
Hiddenif they are in a different group than the user viewing the item in Zoom View.- Users who are no longer a part of the team will be displayed as
Undefined user
You can only add one comment to each component.
Filter tools
From the top panel, there are a few ways you can filter and manage how you view your dataset.
- Filter by folder - You can select a project folder from the dropdown list to view items from that folder specifically. By selecting a folder, you can also move or copy items from that folder to another in bulk.
- Filter by subset - You can select a subset from the dropdown list to view all items within that subset. By selecting a subset, you can also move or copy items from that subset to another in bulk.
- Queries - You can type JSON Queries into the query bar in the top panel to curate specific results within your project.
Updated 11 days ago