Custom action setup
Setting up a Custom Action takes you to the Action editor, where you can write your code and configure the execution environment by specifying the necessary libraries and dependencies required for your action. Each execution of the action will be processed in an isolated container in the SuperAnnotate cloud.
You can access your custom actions via the Actions tab located in the top-left corner, in Orchestrate.
Create an action
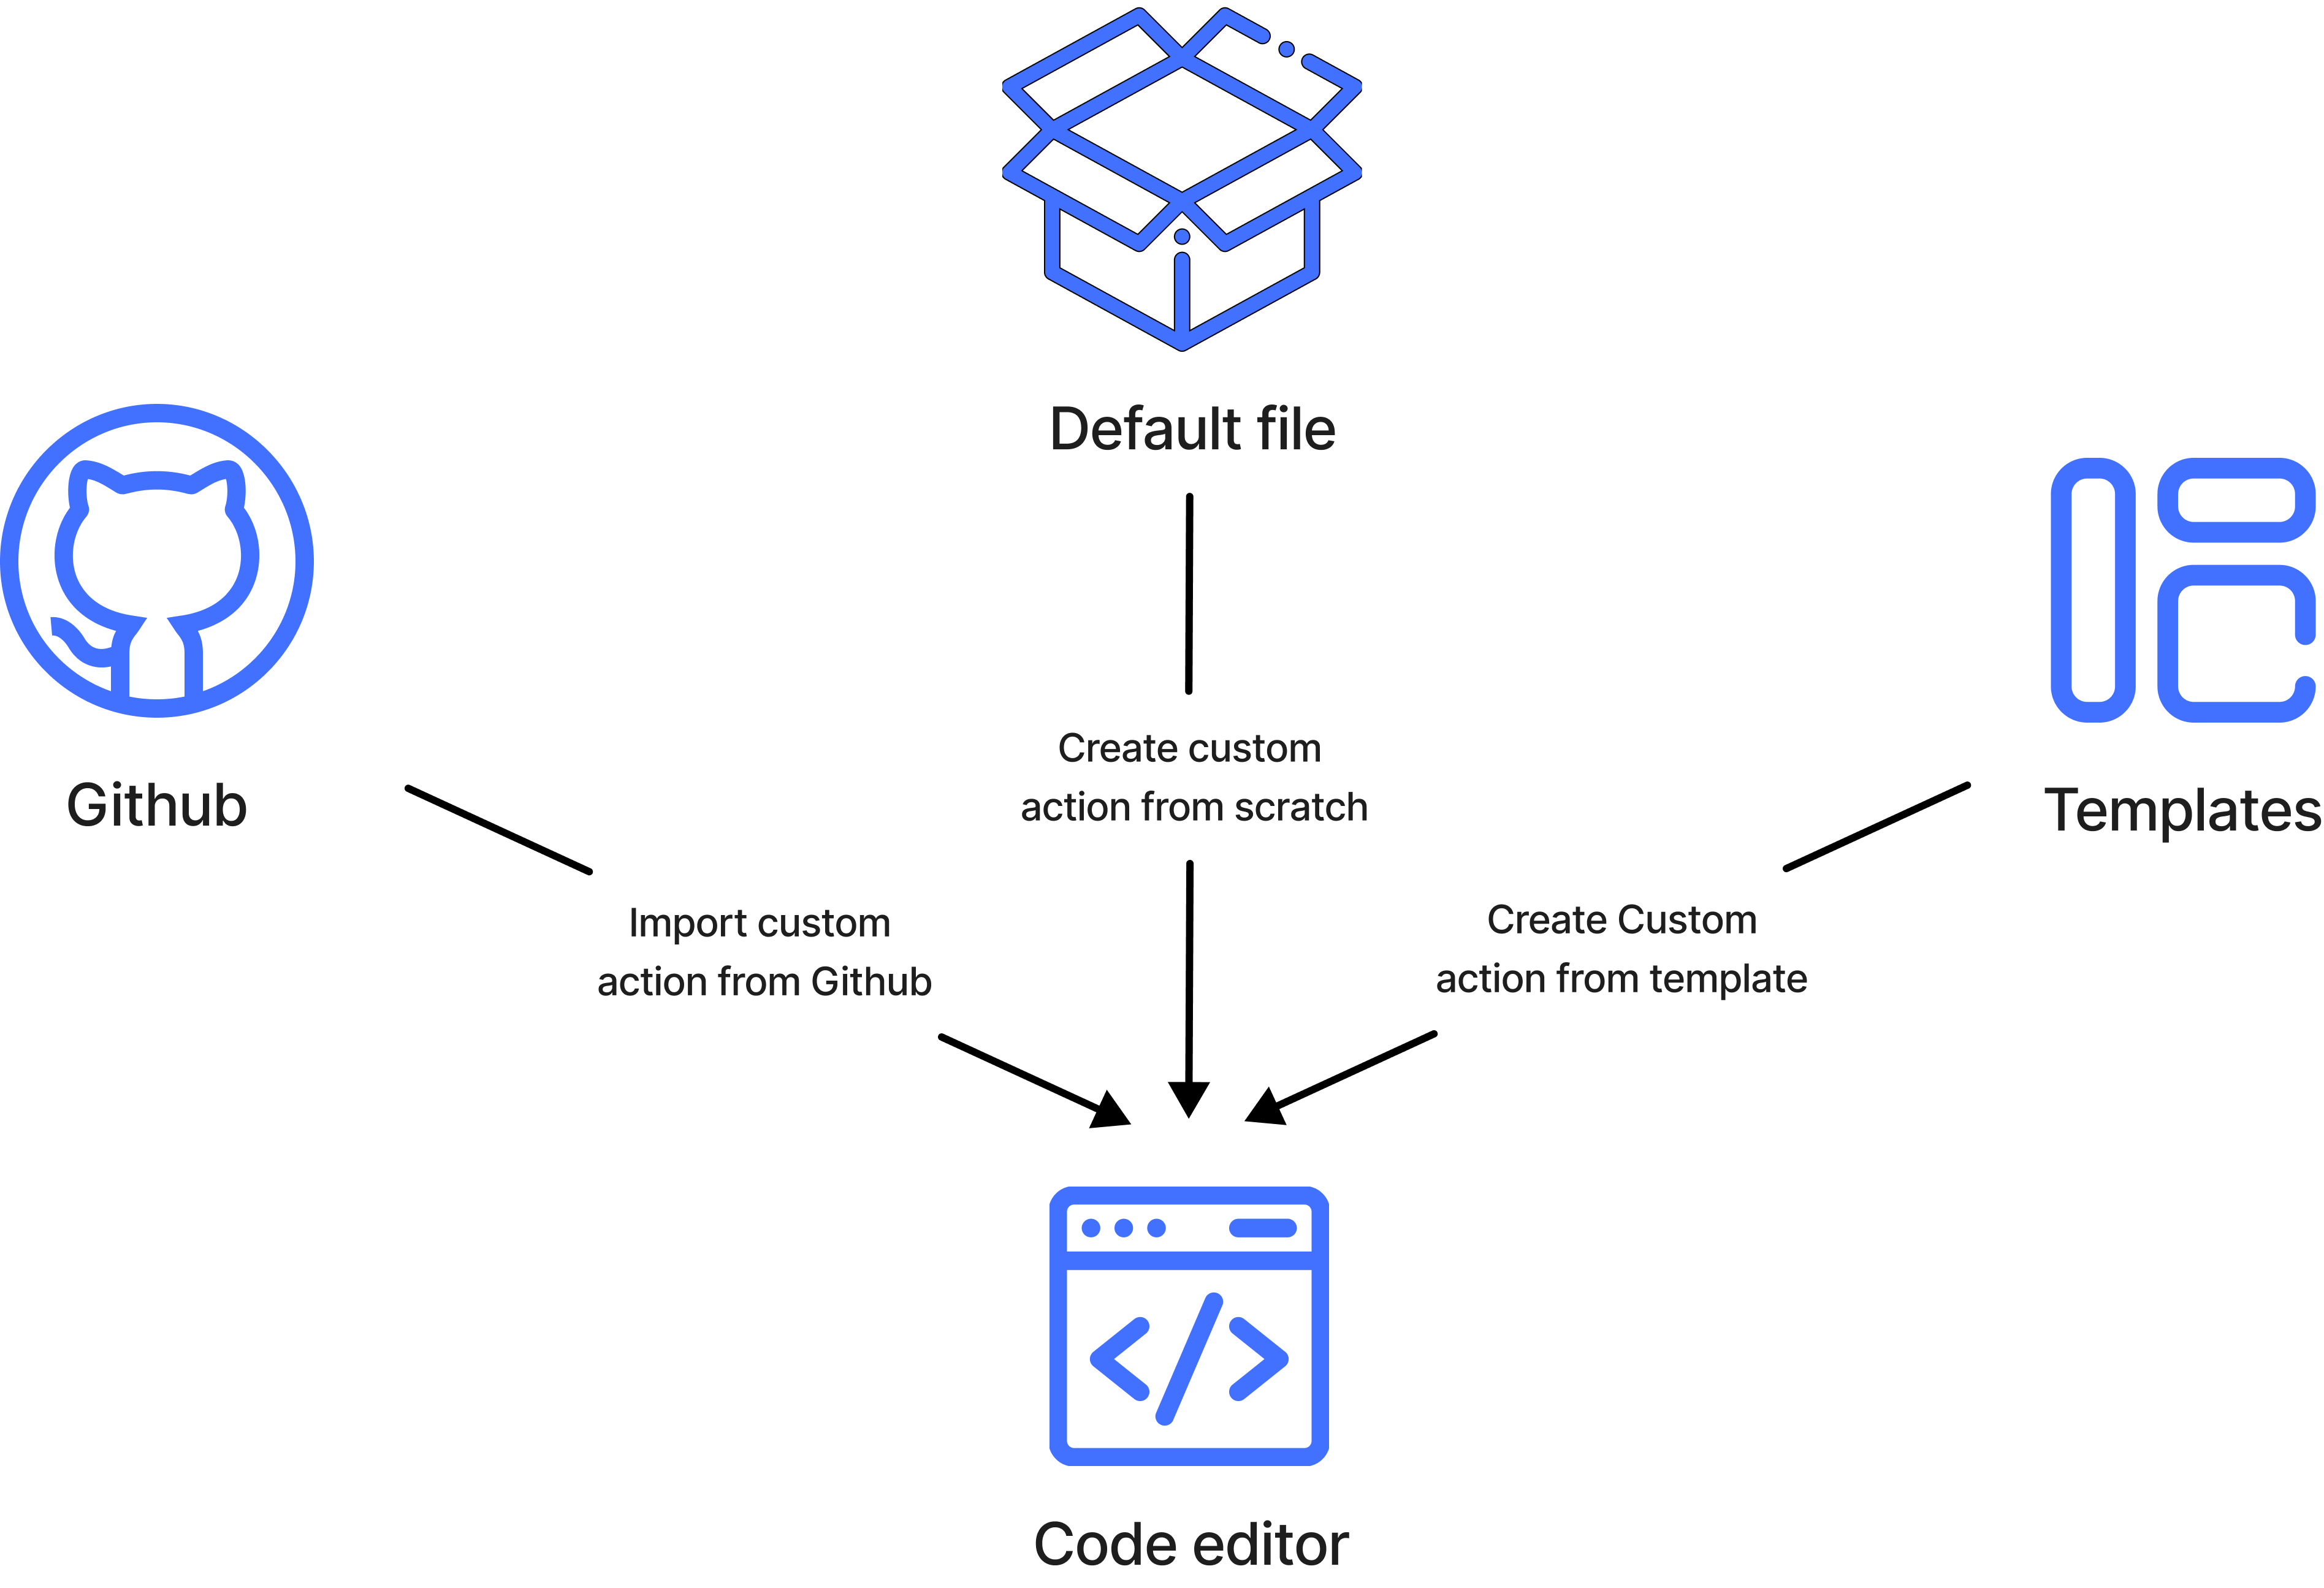
You can create a custom action using one of the following methods: start from scratch, use a template or import from GitHub.

- In the Actions tab, click + New Action.
- Choose a creation method:
- Create from scratch: Click New action and build it from the ground up.
- Use a template: Select a predefined template to get you started.
- Import from GitHub: Provide the GitHub URL to import an existing action. You may also import our templates this way.
- In the Code Editor, write or edit the code based on your needs. For details on using the handler function, see the code editor documentation.
- Configure the action settings:
- Name: Enter a name for the action.
- Description (optional): Describe the action.
- Python Version: Specify a Python version.
- Memory Allocation: Set the memory limit (exceeded executions will fail).
- Execution Duration: Set the maximum execution time (exceeded executions will fail).
- Concurrent Executions: Define the maximum concurrency (exceeding executions will queue for up to 3 hours before failing).
- Click Save to initiate the action creation process. This will trigger the environment build, which may take some time. During the build process, you can continue to modify your code. Refer to the Action editor page for details on how to update the action.
Editing your action
While the environment is being built, you can edit the action’s code, name, and description. From the list of custom actions, click on the action you want to edit, and follow the steps below according to what you want to change.
To change the action’s code:
- Make your changes accordingly in the action’s code editor.
- You can Discard changes to revert the code back to the original state.
- Click Save.
- This will only save the changes you’ve made in the code editor.
To change the name and description:
- Go to the Settings tab in the left panel.
- Click on the Edit button on the name and/or description to make your changes.
- Click Save.
To change the settings configurations:
- Go to the Settings tab in the left panel.
- Click the Edit button next to each setting to make changes individually.
- Click Save.
To edit your environment configurations (this can’t be done while the build is in progress):
- When in the Environment tab, click Edit.
- Make your changes to the environment accordingly.
- Click Build.
Automated custom action deployment
You can automatically update or create custom actions in SuperAnnotate directly from your GitLab or GitHub repositories.
The Custom Action GitLab CI is available in the GitLab CI/CD Catalog.
The Custom Action GitHub Action is available in the GitHub Marketplace.
You can get acquainted with all the relevant details in each repo’s README file.
Updated 15 days ago