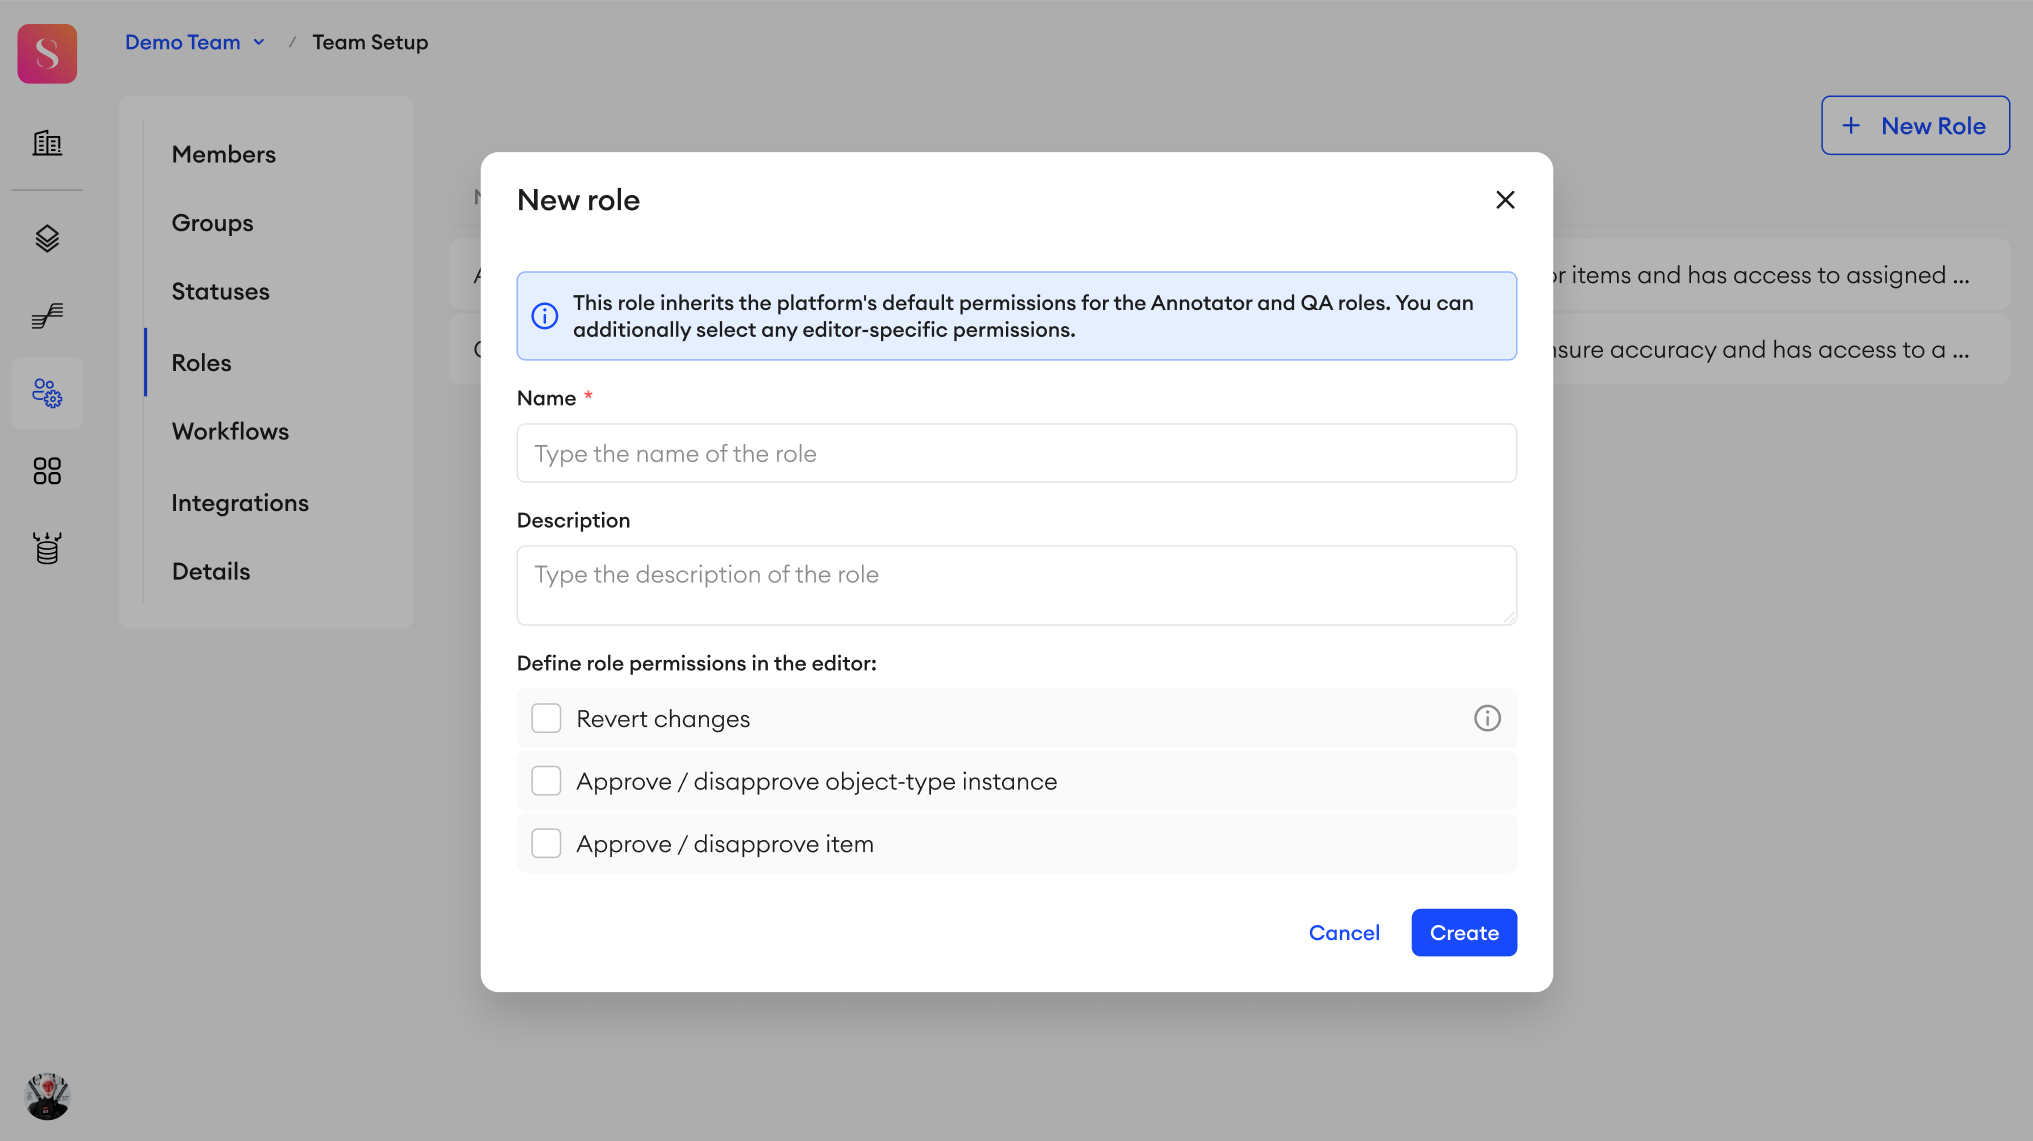
Create a role

Custom roles can be used within any workflow that you create. They allow you to have new roles within your project that better fit the dynamic of your team. Custom roles will inherit the platform's default permissions for the Annotator and QA roles. Also, you can additionally set any editor-specific permissions when creating these roles.
Only members with the role of Team Admin or higher can create and view a role.
To use these custom roles in your projects, make sure to include them in your custom workflow JSON.
Creating your role
You can create a new role from Team Setup.
- Go to the Roles tab.
- Click + New Role.
- Type in a name for your new role.
- Type in a description of your role to explain its purpose (optional).
- Define the role's permissions from the following options:
- Revert changes - Deletes all the item’s annotations and comments.
- Approve/disapprove object-type instance.
- Approve/disapprove item.
- Pin items - Pins items. Pinned items will be visible to all roles regardless of their assignment and item status.
- Resolve comments - The user will have a possibility to resolve other user’s comments as well.
- Delete comments - The user will have a possibility to delete other user’s comments as well.
- Click Create.
You can create up to 200 roles per team, and they can't be edited or deleted yet.
Naming your custom role
- Role names are considered case-insensitive and can contain alphanumeric characters and underscores
_only.- Role names can’t only contain the following reserved words (case-insensitive): Or, And, Contains, OrderBy, and Random.
- Once you create a role, you can use it in any Workflow you create.
Role permissions
The platform's default roles (Annotator, QA) have the following editor permissions that correspond to them:
- Annotators can revert changes, deleting all existing annotations and comments in an item, and reverting the item's status to it's starting state (Not Started by default).
- QAs can Approve/Disapprove object-type instances, and they can resolve comments.
To view the editor permissions of a role, you can go into the Roles tab under Team Setup, and click on it.
Updated 9 months ago