
Custom statuses
Custom statuses can be used within any workflow that you create. They allow you to create new stages for your annotation cycle that better fit your team's work processes.
Only members with the role of Team Admin or higher can create, view, edit and delete a custom status.
To use these custom statuses in your projects, make sure to include them in your custom workflow JSON.
Creating your status
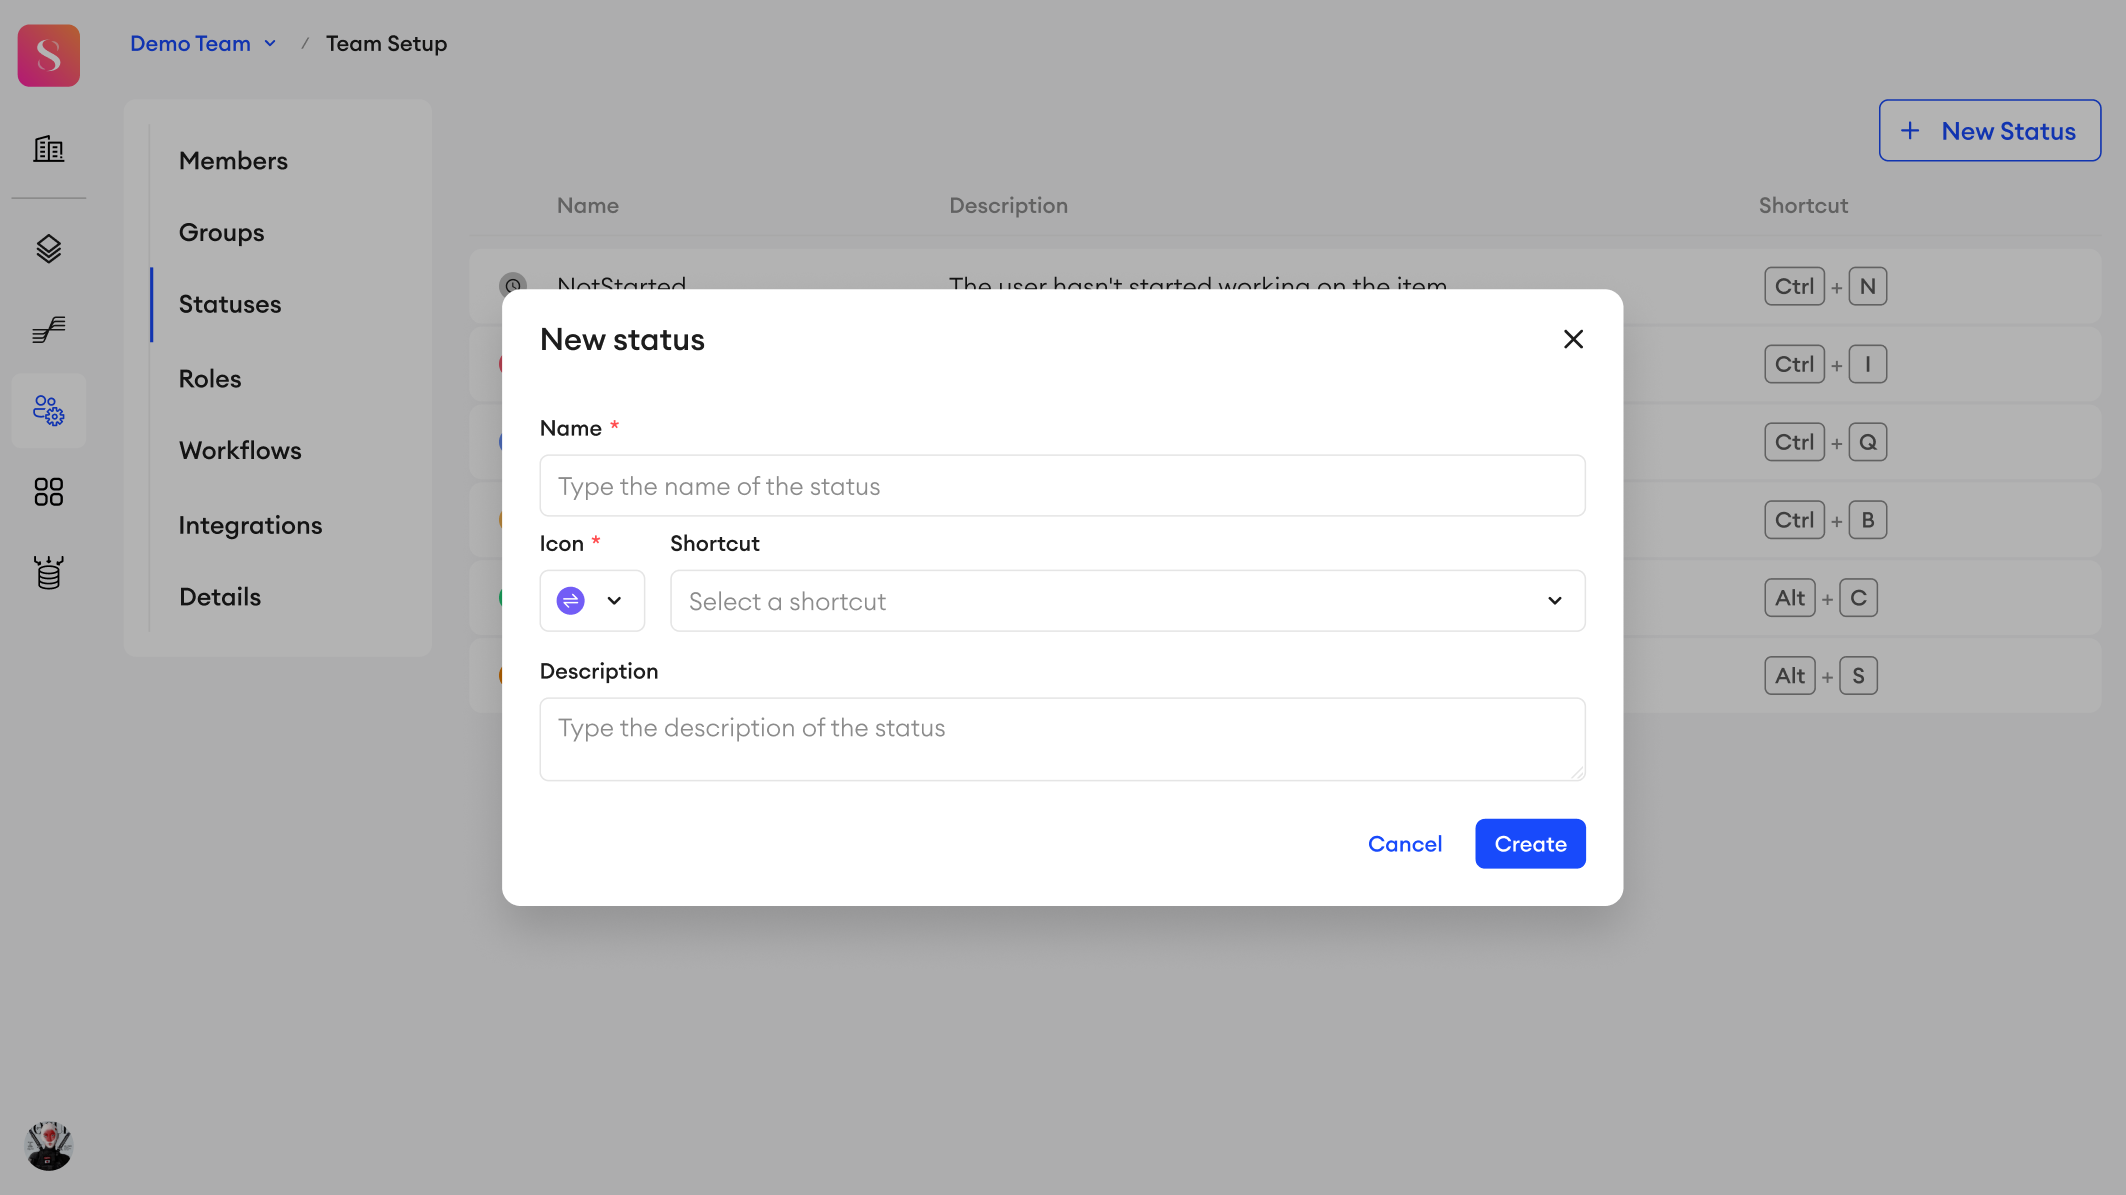
You can create a new status from Team Setup.
- Go to the Statuses tab.
- Click + New Status.
- Type in a name for your new status.
- Type in a description (optional).
- Select an icon to represent the status.
- Select a shortcut that you can use to quickly change an item's status to this one.
- Click Create.
You can create up to 200 statuses per team, and they can't be edited or deleted yet.
Naming your custom status
- Status names are considered case-insensitive and can contain alphanumeric characters and underscores
_only.- Status names can’t only contain the following reserved words (case-insensitive): Or, And, Contains, OrderBy, and Random.
- Once you create a status, you can use it in any Workflow you create.
Edit custom status
To edit a status:
- Go to the Statuses tab in Team Setup.
- Click on the custom status you want to edit.
- Hover over the name, description, icon, or shortcut and click the Edit button.
- Make your changes accordingly.
- Click the Save button to save your changes. When the status is edited successfully, the change will be reflected everywhere it's displayed.
Statuses in TelemetryChanging custom status details will only affect new logs. Existing logs will retain the old details.
Delete custom status
To delete a status:
- Go to the Statuses tab.
- Click on the custom status you want to delete.
- In the top-right corner of the status window, click Delete.
- In the pop-up, click Delete.
Keep in mind
- Only unused custom statuses can be deleted.
- Any pipeline nodes using the deleted custom status must be reconfigured.
Updated about 2 months ago
Did this page help you?