
Import items
There are a few ways you can import items into your project, whether it’s by uploading them or generating them manually.
Integration or SDK
Add an item to the SuperAnnotate platform using one of the following methods:
Each data item should be a valid JSON file. A key advantage here is that you can specify your own schema and modify the values in the UI builder or in the code editor.
Example
Let’s assume we have a JSON file imported from an AWS S3 bucket using the cloud integration method.
JSON file:
{
    "metadata":
        {
            "name": "My conversation",
            "category": "Cooking",
            "image_url": "https://your_bucket.s3.us-west-2.amazonaws.com/data/conversation.json"
        }
}
Let’s assume you want to display the name and category values as paragraphs on the UI. To do this, you simply need to add the {{metadata.name}} and {{metadata.category}} expressions in the component configuration field, as it is shown below:

For cases that include a data item that should be signed as an integration item, you need to use a specific function: {{sign(metadata.image_url)}}

Upload items
You can upload items to your project through an integration, or by attaching URL. These items must follow the same format as that project's form template. You can view this structure in a downloaded item's annotation JSON.
To upload items through an integration:
- In the Data tab, click + Add.
- Select Upload Items.
- Select an integration from the dropdown, and a location path (if applicable).
- Click Upload
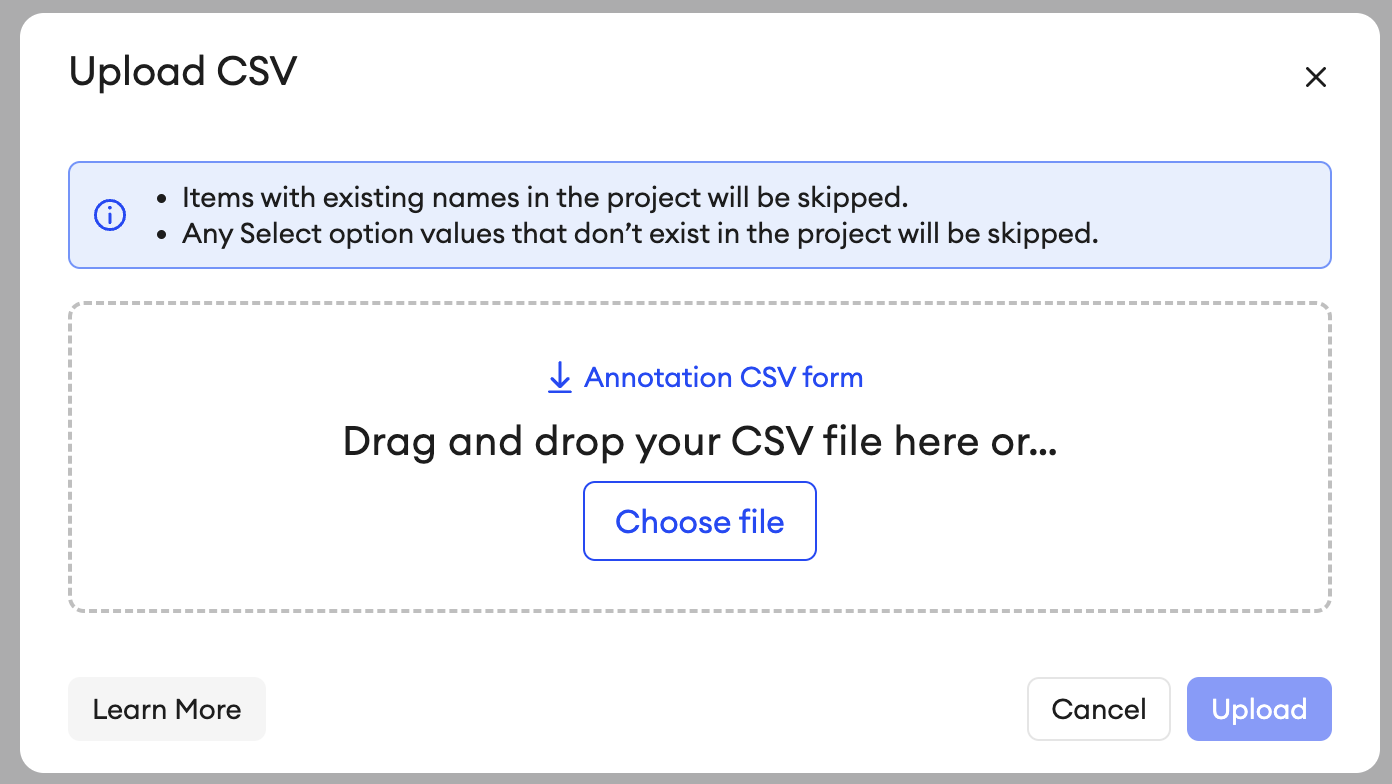
Upload CSV
You can import items into your project by uploading a CSV.
To upload a CSV:
- In the project, click + Add.
- Click Upload CSV.
- In the pop-up, drag and drop your CSV file or choose a file from your computer.
- Click Upload.
Limitations
- There are any invalid or non-existent component IDs in your CSV.
- Your upload exceeds the folder’s 50,000 item limit.
- Your upload exceeds your organization’s subscription plan limit.
CSV Format
Once your project’s form is created, you can download the CSV in order to use it for the data upload. You can download your CSV file in one of the following ways.
From the upload menu:
- In the project, click + Add.
- Click Upload CSV.
- Select Annotation CSV form.
From the project’s form builder:
- In the project’s form builder, click Export.
- Select CSV for annotations.
When creating the CSV file for an LLMs and GenAI project, there are a number of factors to consider.
Your CSV file should only contain the following mandatory columns:
- _item_name - This is what the item's name will be in the Data tab. Items with missing values in this column will be provided with a randomly generated UUID name.
- [Component ID] - This header’s value must be a component ID mentioned in your project’s form builder, e.g.
Input_component_1. The ID must belong to an Input, Select, or Media component type that hasn’t been excluded from export. - _item_category - This column is where you can provide a category to the items you upload. This can only work if you’ve enabled the Item Category setting for your project.
- _folder - You can upload your items into multiple folders from one CSV file. If the folder doesn’t exist, it will be created during the upload. You must add this column and specify the folder name for each item. Any item with an unspecified folder name will be uploaded to the project’s root.
- To upload your items into multiple folders, you must do so from outside of those folders, or from within the project’s root. You can also do this in a project’s empty state.
- You may also create new folders during the upload process by typing in a unique folder name in the
_foldercolumn. Keep in mind that folder names are case insensitive.- If you want to upload to a specific folder, you can use the
_foldercolumn while uploading items from outside of the folder. Alternatively, you can upload your items from within the destination folder, but you must exclude the_foldercolumn from the CSV in that case.
Category Limitations
- Each item can only have one category at a time.
- A project can only have 2000 categories maximum.
- The character limit for a category name is 200.
- When choosing a name for your category, make sure it is unique and keep in mind that category names are case-insensitive. This means that ‘name’ and ‘Name’ will be considered the same.
Formatting
The CSV files required for an LLMs and GenAI project have to be created with the following in mind:
- Values in the CSV file must be separated by comma (,).
- If the value itself contains a comma, then you must write the value in quotation marks.
- Empty rows that contain no values or delimiters will be skipped.
- Each row of the CSV file will be uploaded into the platform as an individual item.
- For the Checkbox component, the options in the CSV file should be provided as a list of strings, as shown below:
["Partially complete, needs review", "Incomplete"]
- For the Range slider component, the values in the CSV file should be provided as a list of integers (float), as shown below:
[2,5]
Important conditions
- Any Single- or Multi-select values that don’t exist in the project will be skipped during the upload.
- If a component ID is included without any values under it, then all of the component’s values will be blank when uploaded.
- In case of any duplicate item names in the CSV file, only the first item with that name will be uploaded.
- Item names must be unique. If you try to upload items whose names already exist in the project, then these items won’t be uploaded.
- If there are any values in your CSV that belong to Select component options that don’t exist in the project, then those values won’t be uploaded.
Download annotation CSV
You can download your project’s annotations in CSV format from the project’s Downloads tab. You can choose to download the whole project or specify parts of it. The exported CSV file will follow the exact same format, and it will only include components of the Input, Select, and Media types that haven’t been excluded from export.
Projects Admins (with download permission) and users with higher roles will be able to download the
_item_categoryand_folderin the SuperAnnotate CSV format.
Item generation
Add an item to the SuperAnnotate platform using item generation. In this case, you will need to input data manually from the code editor.
Updated 3 months ago