
Multimodal
Large Language Models and Generative AI have data needs that set them apart from other types of machine learning. The Multimodal project type has been created to support large-scale dataset creation, filtration and refinement, as well as model evaluations. It has a fully customizable interface that can be adapted to fit any task (e.g. SFT, RLHF, Multimodal LLMs, Agents, etc.), and it's possible to hook it up to external APIs and models. Creating datasets and evaluating models are often efforts requiring multiple people. Therefore, there are tools for multi-level QA, people, and project management.
Setting it up
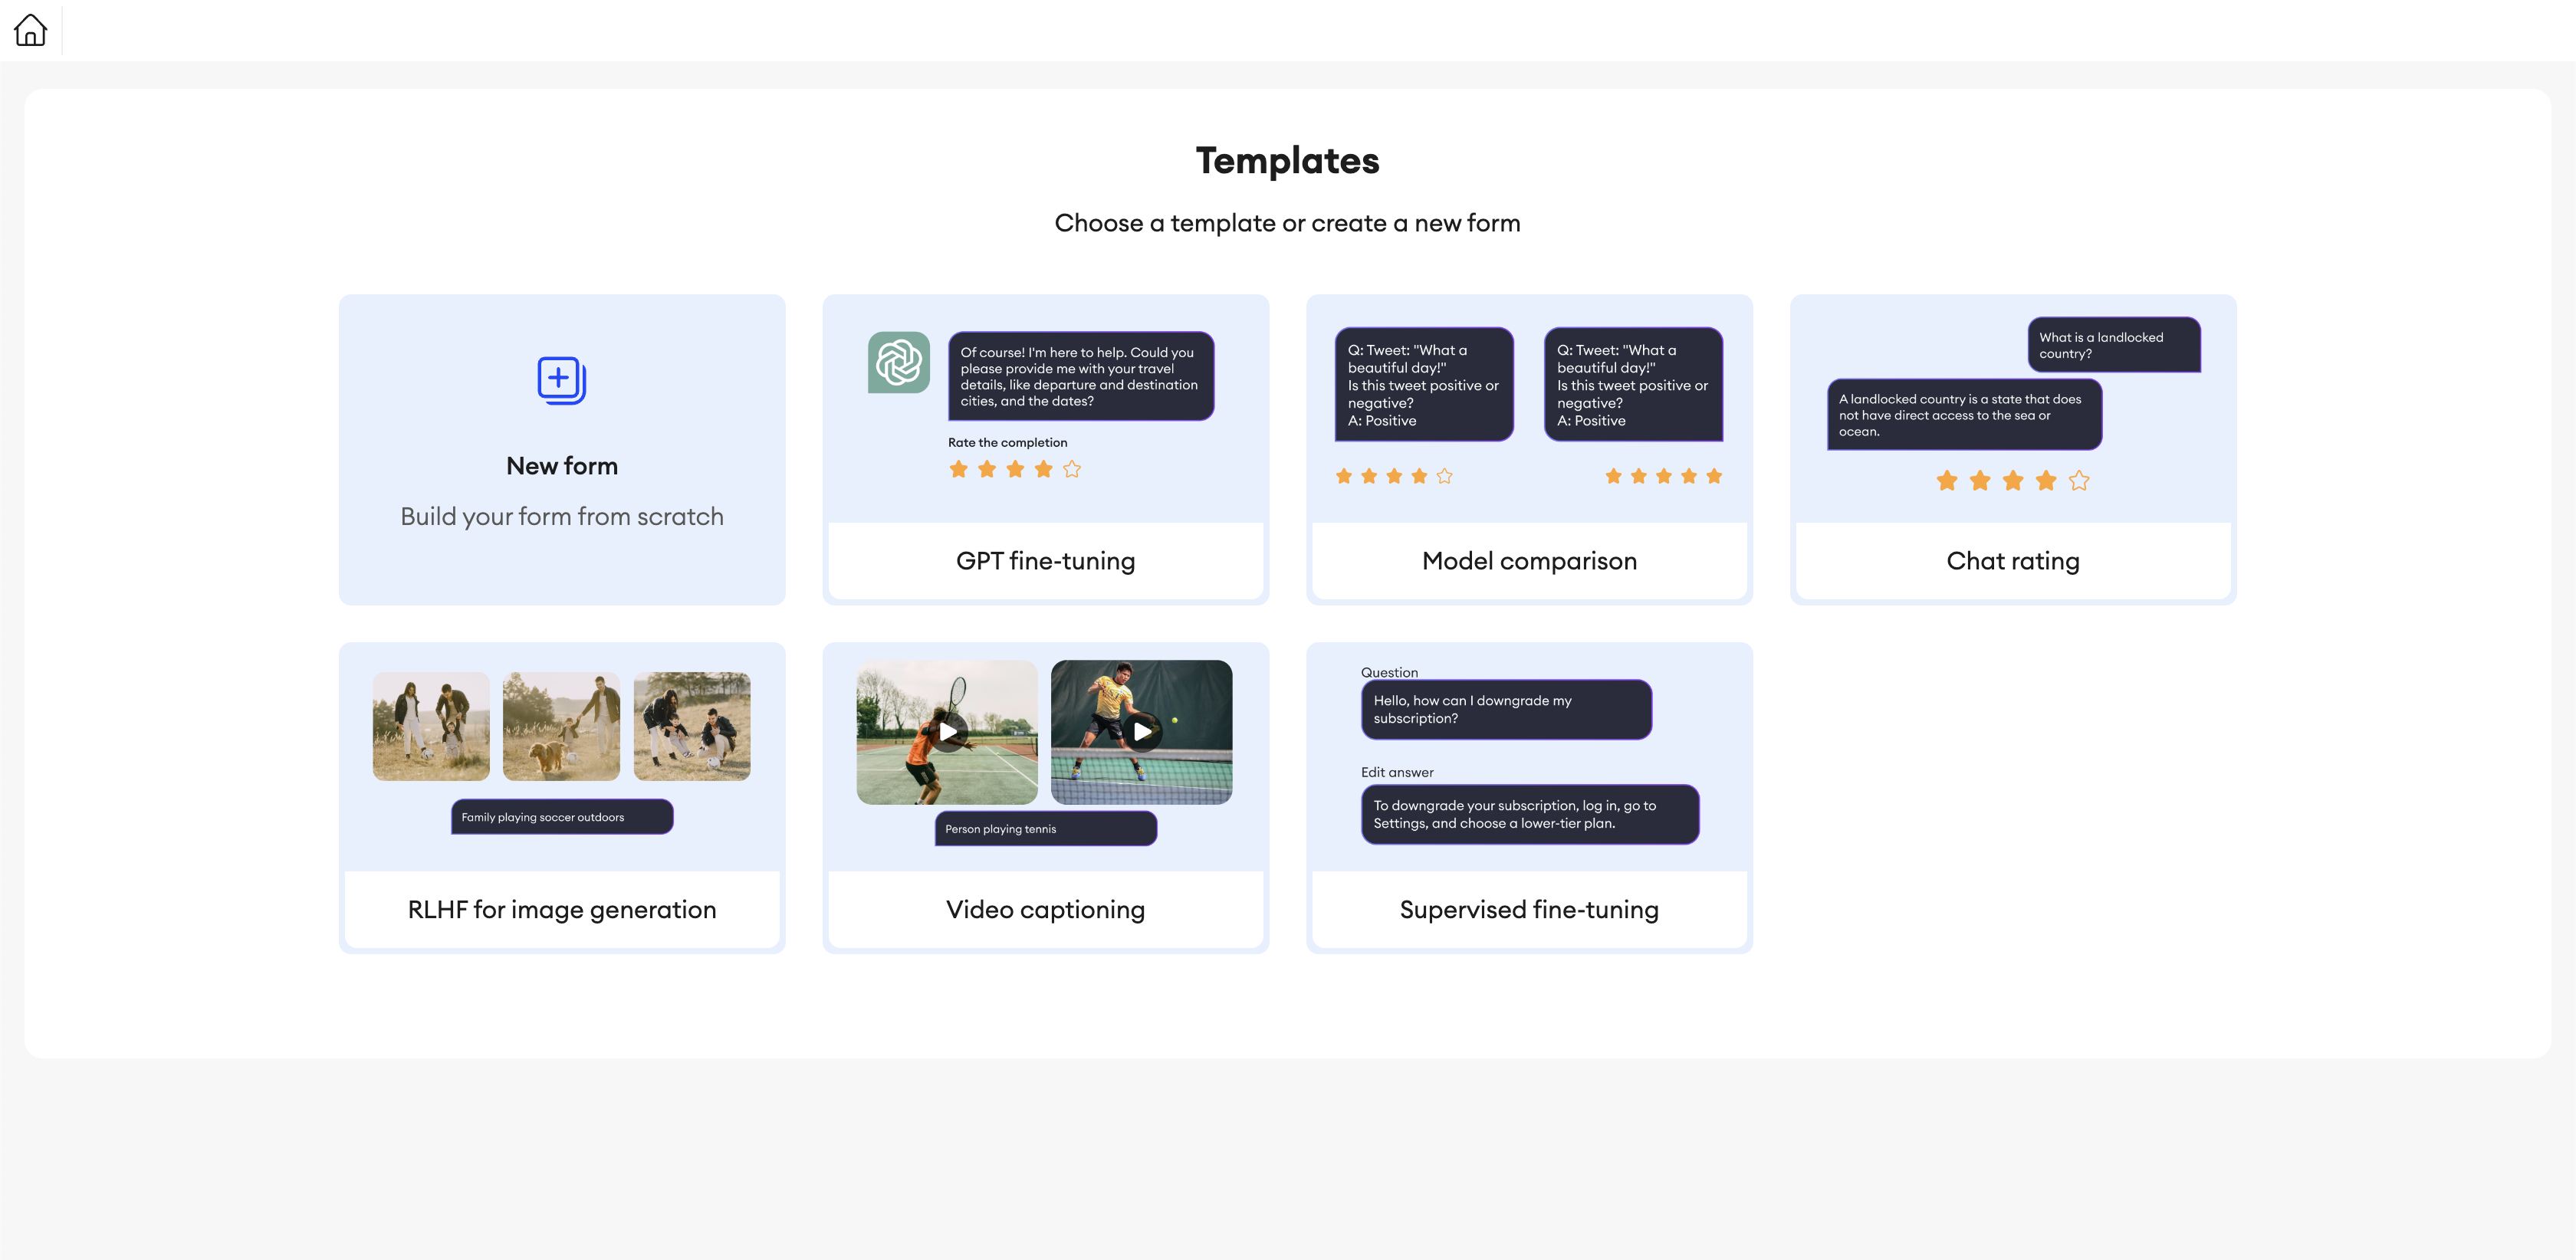
As you start setting up your project and give it a name, you'll be given two options: build your annotation interface form from scratch or choose from a list of pre-existing templates.
If you begin building it from scratch, you'll see a blank canvas and a list of components you can use, each with its list of properties and functionality. You can mix and match them as you like, give them custom IDs, define static values and content, and so on.
Customizing form behavior and connecting APIs
In the Code Editor, you can define the functionality behind your form. Every interactive component will have an on_action function in the code editor that will be triggered when a specific action happens. You can connect the tool to external APIs and models, and create custom behaviors when the user interacts with the components. Read more about how the code editor works here: code editor.
Creating Items
Once the form is finalized, there are several ways to generate items. To create several identical copies of the form to assign to annotators, you can generate brand-new items within the project's folder. On the other hand, if you've got data that you want to load into the annotation forms, such as a list of prompts and completions that annotators can edit, you can use one of the available Integrations or upload a CSV file.
It is also possible to use the SDK to change the content of any field in the form. If you have generated a set of empty items, this is a way to populate them with data.
If you're using some of the integrations, specify what data should be displayed in each component when creating the form. Read the Import items page for more details.
Assigning items
Once the project is set up and filled with items, it's time to assign people to do the work. You can either add contributors to the project and have them randomly assigned to different items, or you can assign people to specific folders and items directly.
Updated 4 months ago