
Create automation
The creation process will take you to a canvas where you can lay out your automations. There are a number of event triggers you can choose from, and actions that can take place. You can also have multiple processes going on in a single pipeline.
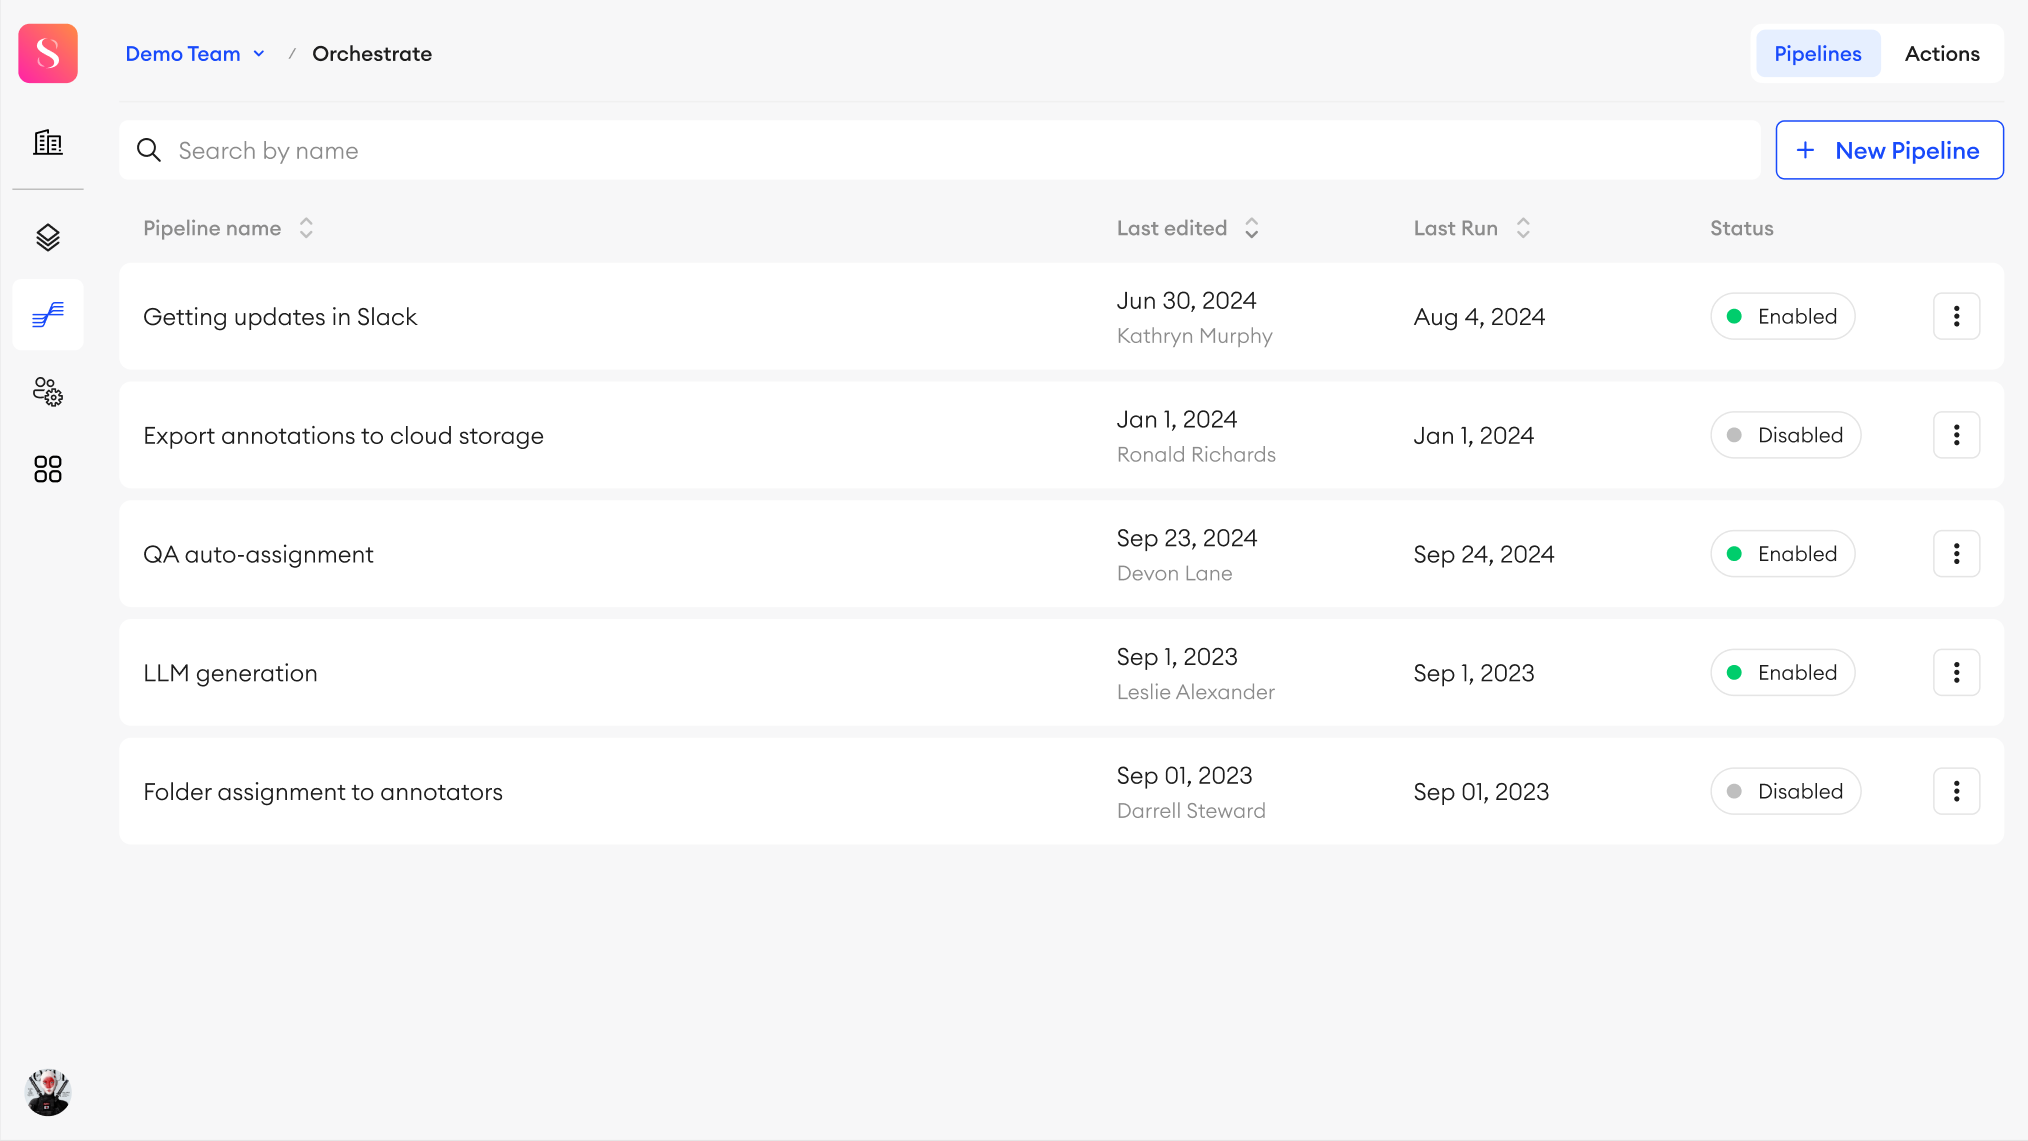
To get started, go to the Orchestrate tab from the left panel.
Create a pipeline
To create a pipeline:
- In Orchestrate, click + New Pipeline.
- From the left panel, click and drag an event component onto the canvas.
- Select an action component to use: Send webhook, Send email, or a Custom action.
- Next, fill in the details for each component from the right panel.
- Connect the event to the action. You can do so by clicking a point on the event’s border and dragging the link to the corresponding action.
- Repeat steps 2–5 as many times as necessary.
- Click Save.
You can make changes to your pipeline after creation and manage them from the list. Learn more.
- Any unlinked event or action card left on the canvas will be deleted when the pipeline is saved.
- You may chain multiple actions to take place after an event is triggered.
- Please note that events can’t be used as outputs, and actions can’t be triggers.
- The Periodic event component can only be used to trigger Webhooks and Custom actions.
Custom actions
When in Orchestrate, you’ll be able to create and access your custom actions from the Actions tab in the top left. Learn more.
Secrets
Secrets can be used to create environment variables for your actions more securely. Learn more.
Updated 3 months ago