Create a model
Create a customized training model to automate your project and speed up the annotation process all while delivering quality results. Only Team Owners and Team Admins can run model trainings.
Create model
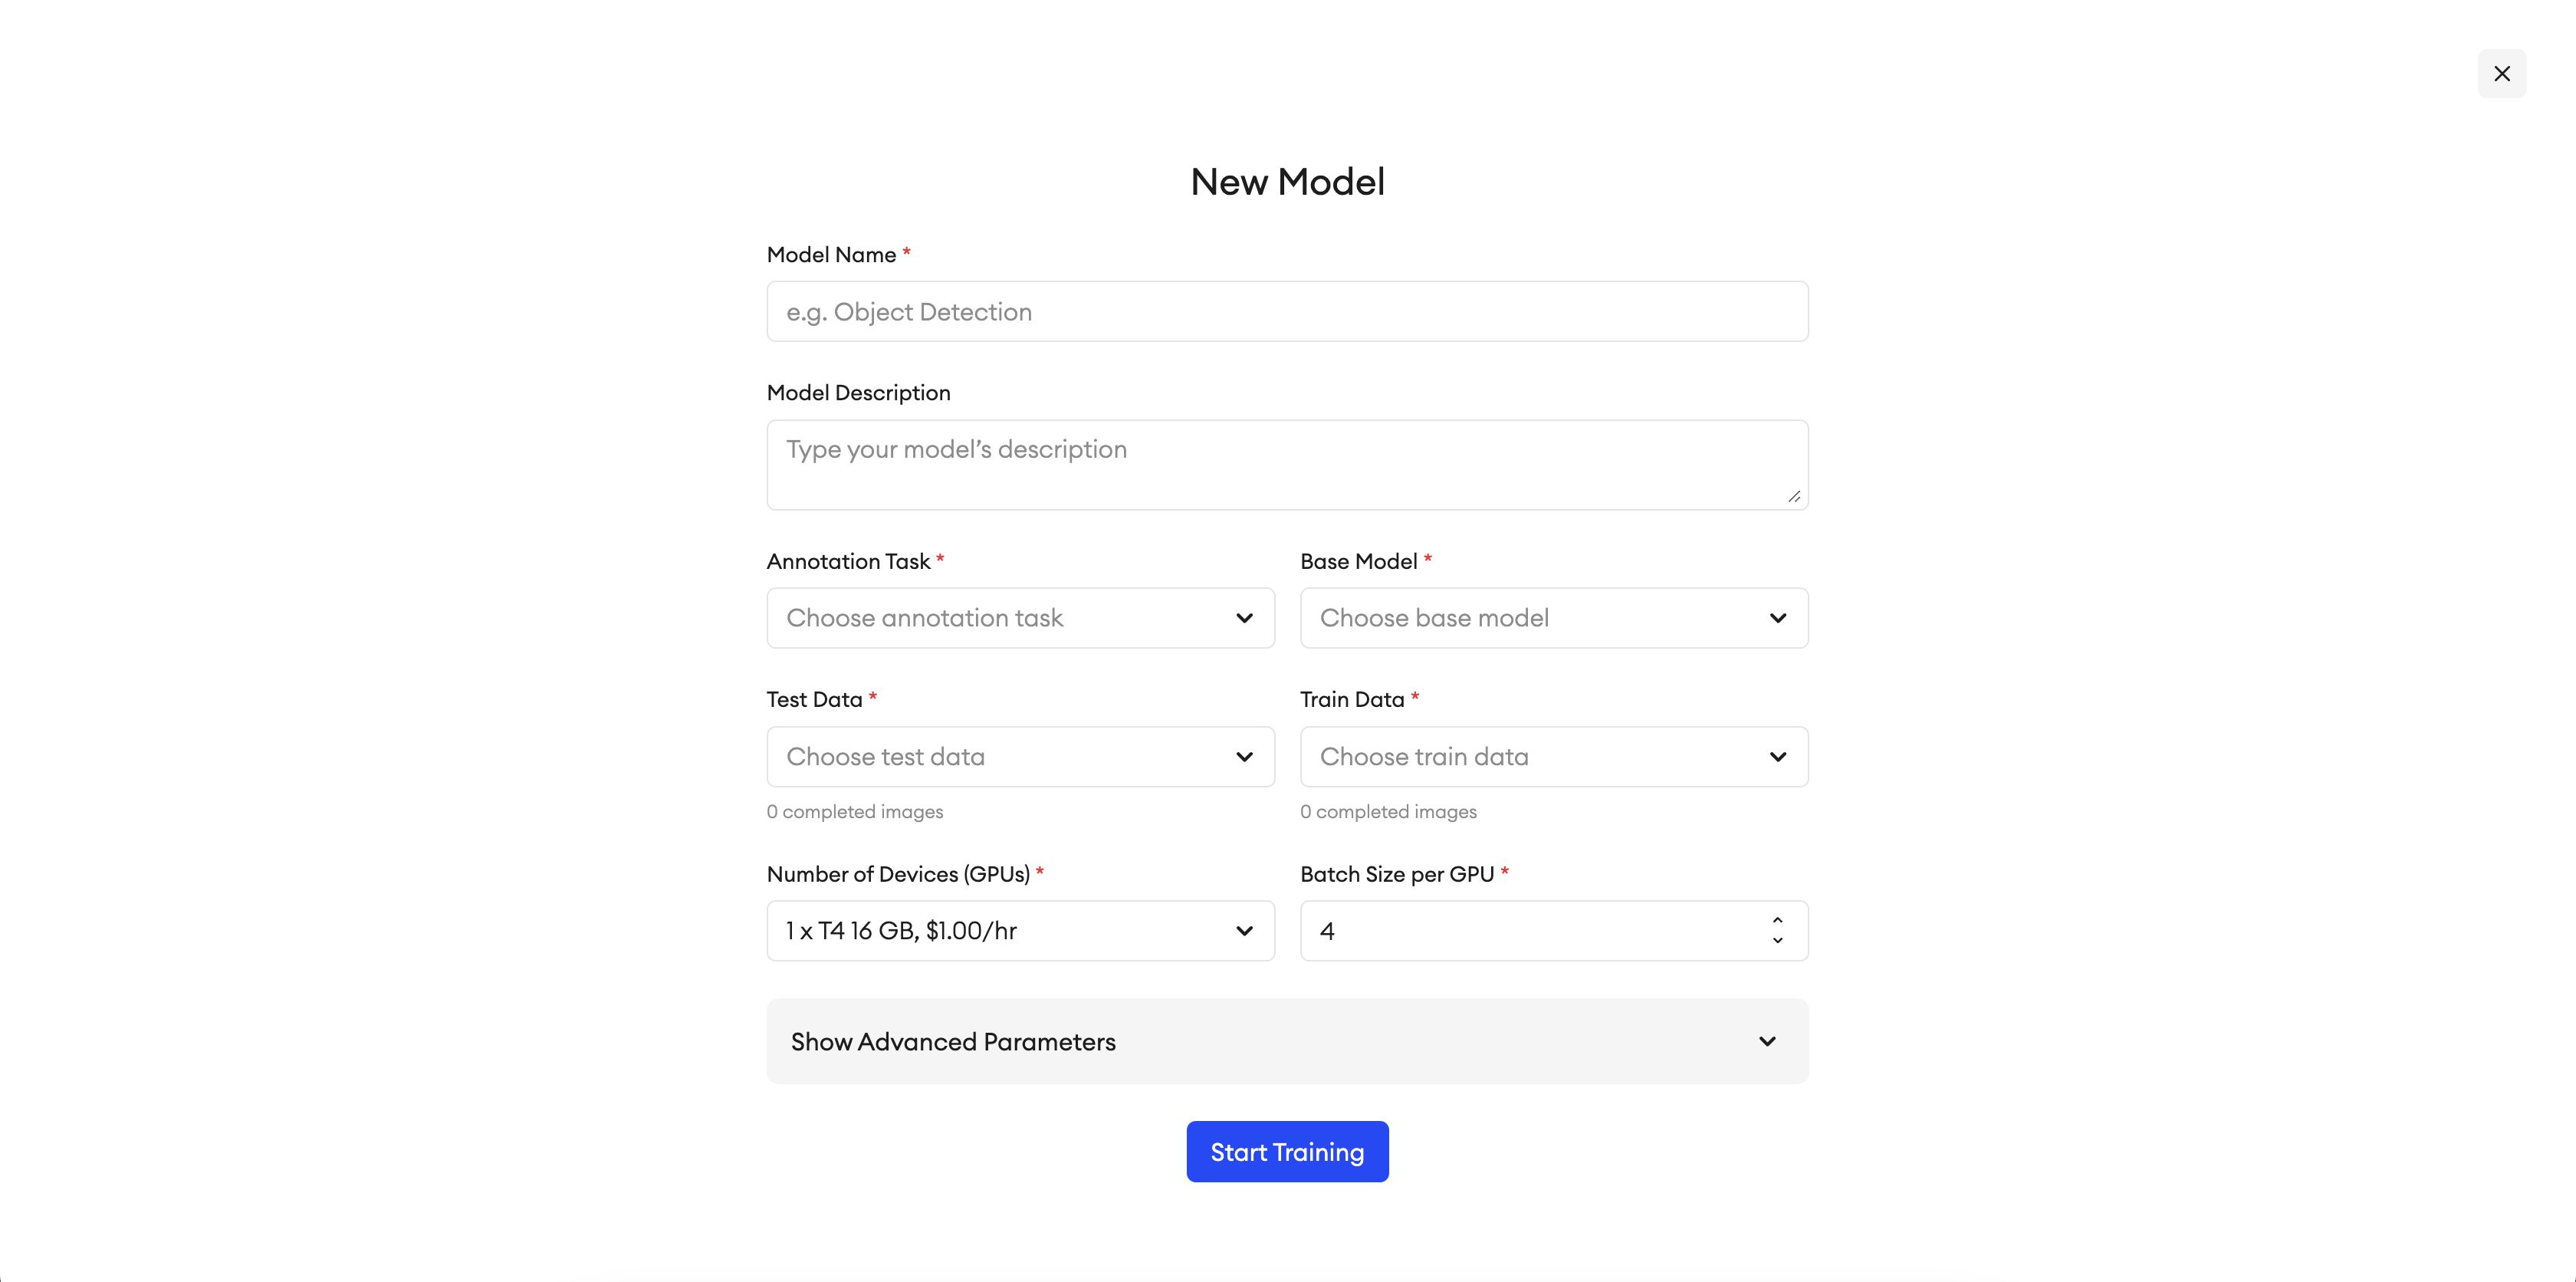
Step 1: Enter your model’s name and description

- Go to Neural Network.
- Click the + button.
- Type the model’s name and description.
Step 2: Choose the annotation task
- Click Annotation Task.
- Choose an annotation task from the drop-down list.
For Image (Legacy) Projects:
- Instance segmentation
- Semantic segmentation
For Image Projects:
- Instance segmentation
- Object detection
Step 3: Choose the base model
- Click Base Model.
- Choose the base model upon which your new model will be refined from the drop-down list.
Step 4: Choose the training data
- Click Train Data.
- Choose the projects, folders, or root images that you want to use to train your model from the drop-down list. Only projects and folders that contain completed images appear in the drop-down list.
Step 5: Choose the testing data
- Click Test Data.
- Choose the projects, folders, or images that you want to use to evaluate your model from the drop-down list. Only projects and folders that contain completed images appear in the drop-down list.
Step 6: Set your training’s parameters
| Parameter name | Description |
|---|---|
| Base model | The base model upon which your new model will be refined. |
| Number of devices (GPUs) | The details of the devices (GPUs) available to train your model. You have two options: a 12GB GPU or a 16GB GPU. |
| Epoch count | The number of times the dataset undergoes training. The epoch count ranges from 1 to 200. |
| Batch size | The number of images. |
| Learning rate | The model’s learning speed. The learning rate ranges from 0 to 1. |
| Image (ROIs) per batch | The number of regions of interest (ROI) per image. The ROI ranges from 2 to 512 and is a power of 2. The smaller the ROI, the faster the learning rate. Image (ROIs) per batch works only with instance segmentation. |
| Evaluation period | The number of epochs per evaluation period. If the epoch count is 10 and the evaluation period is 2, it means that the dataset will undergo an evaluation every 2 epochs. The user will be reported of the best model that resulted from the evaluation period. |
| Gamma | Gamma is needed for the learning rate. Its value ranges from 0 to 1, and it will be multiplied with the learning rate. |
| Epochs for gamma | After you specify the number of epochs for gamma, the learning rate will be multiplied by gamma. |
Run training
To run the training:
- In the top right corner, click Run training.
- In the pop-up message, click Run Training.
After the training is complete, you can use your new model to run Smart Prediction.
SDK function
To run Smart Prediction with a specific model:
raw_images = sa.search_items(
  project = "Cityscapes",
  annotation_status = "NotStarted")

succeeded, failed = sa.run_prediction(
  project = "Cityscapes",
  images_list = raw_images,
  model = "Cityscapes Segmentation Model")
Stop training
To stop the training:
- Click Stop in the top right corner.
- In the pop-up message, click Yes.
Get model training metrics
To download your training's metrics:
- Go to your model.
- Under Training metrics, click Download.

SDK function
To download the trained model and its metadata:
sa.download_model(
  model = "Cityscapes Segmentation Model",
  output_dir = "./models")
The downloaded model directory contains trained model weights and a configuration file on the model architecture.
Model deployment tutorials
Check out our GitHub repository for model deployment tutorials on edge devices like Jetson Nano and OAK-D.
Updated 5 months ago