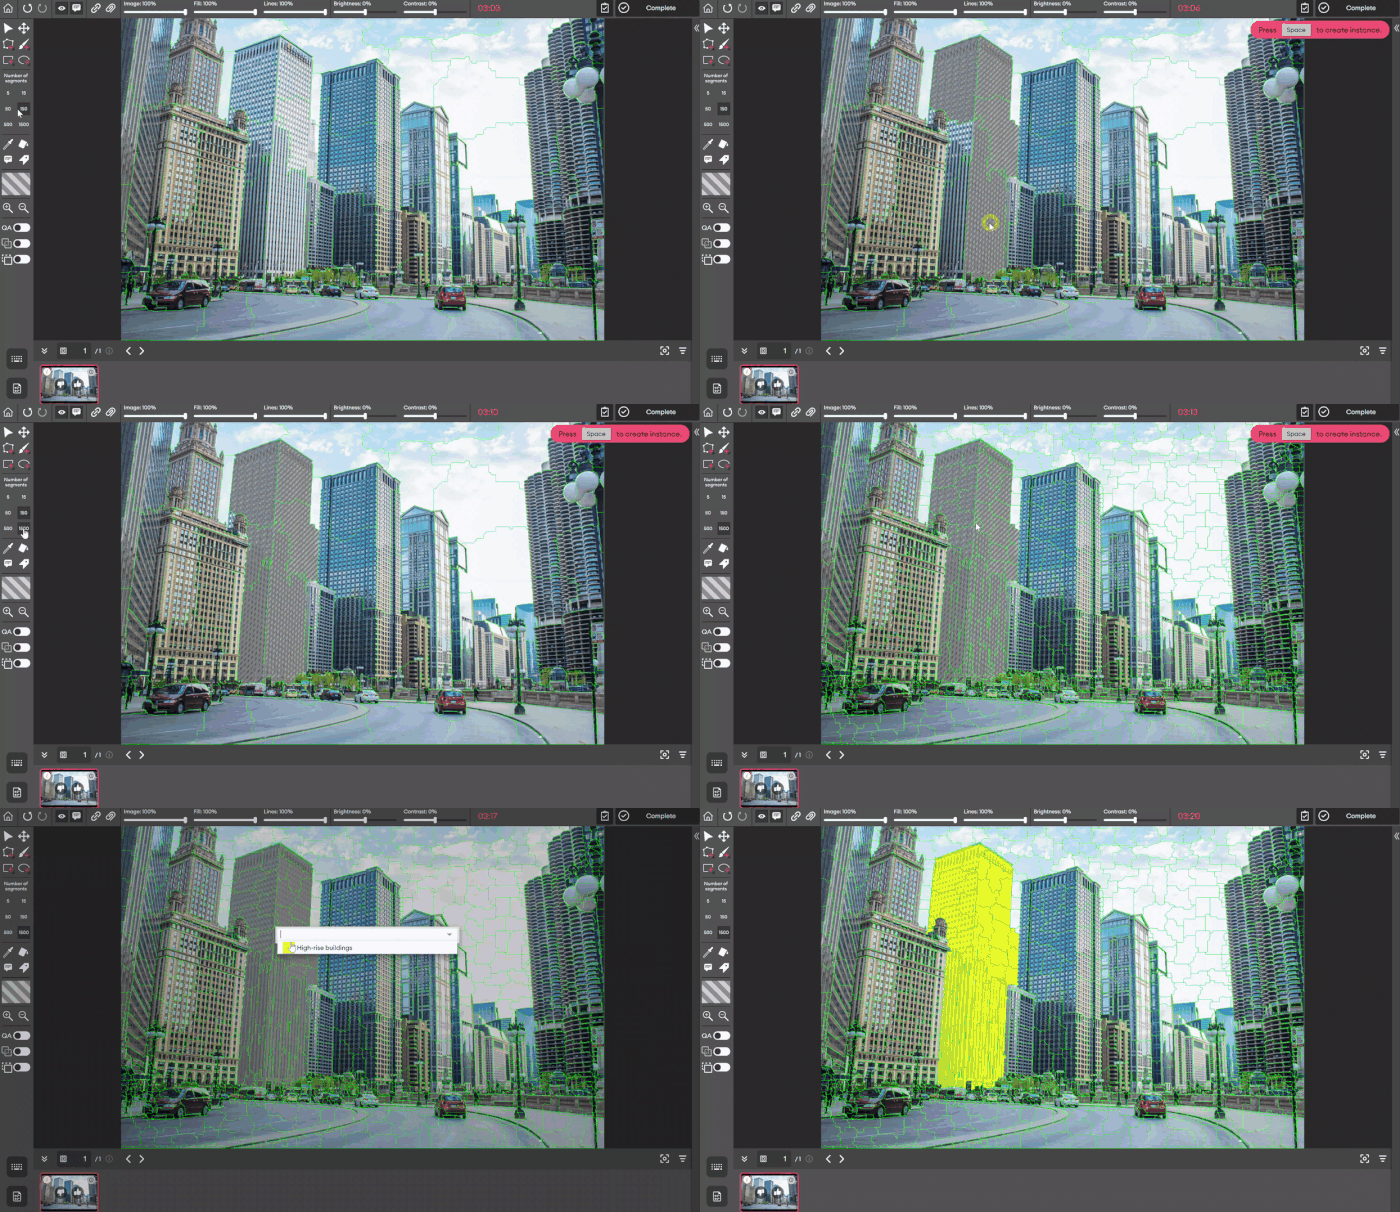
Smart Segmentation
Smart Segmentation allows you to divide your images into multiple segments and create pixel-accurate annotations fast.
Run Smart Segmentation
To run Smart Segmentation on an image:
- In Data, select one or multiple images. Note that the image resolution shouldn't exceed 4 MP.
- Click Run Smart Segmentation.
- Choose a model: Generic or Autonomous driving.
- Click Start segmentation.
When Smart Segmentation completes successfully, you'll see a green checkmark on the Smart Segmentation button that corresponds to the image(s). When you hover over that button, you'll see this message: Smart Segmentation completed.
When Smart Segmentation is running on an image, the image is inactive. When you hover over it you'll see this message: The item is currently unavailable.
Create an instance with Smart Segmentation

To create an instance with Smart Segmentation:
- Run Smart Segmentation on an image. Learn more.
- Open the image in the editor.
- Under Number of segments in the left panel, select a number. These numbers determine how much you want to segment the image. The higher the number you choose, the more the image will be segmented, and vice versa.
- Click on the segment(s) that form the object you want to annotate.
- Press the spacebar on the keyboard to create the instance.
Updated 5 months ago